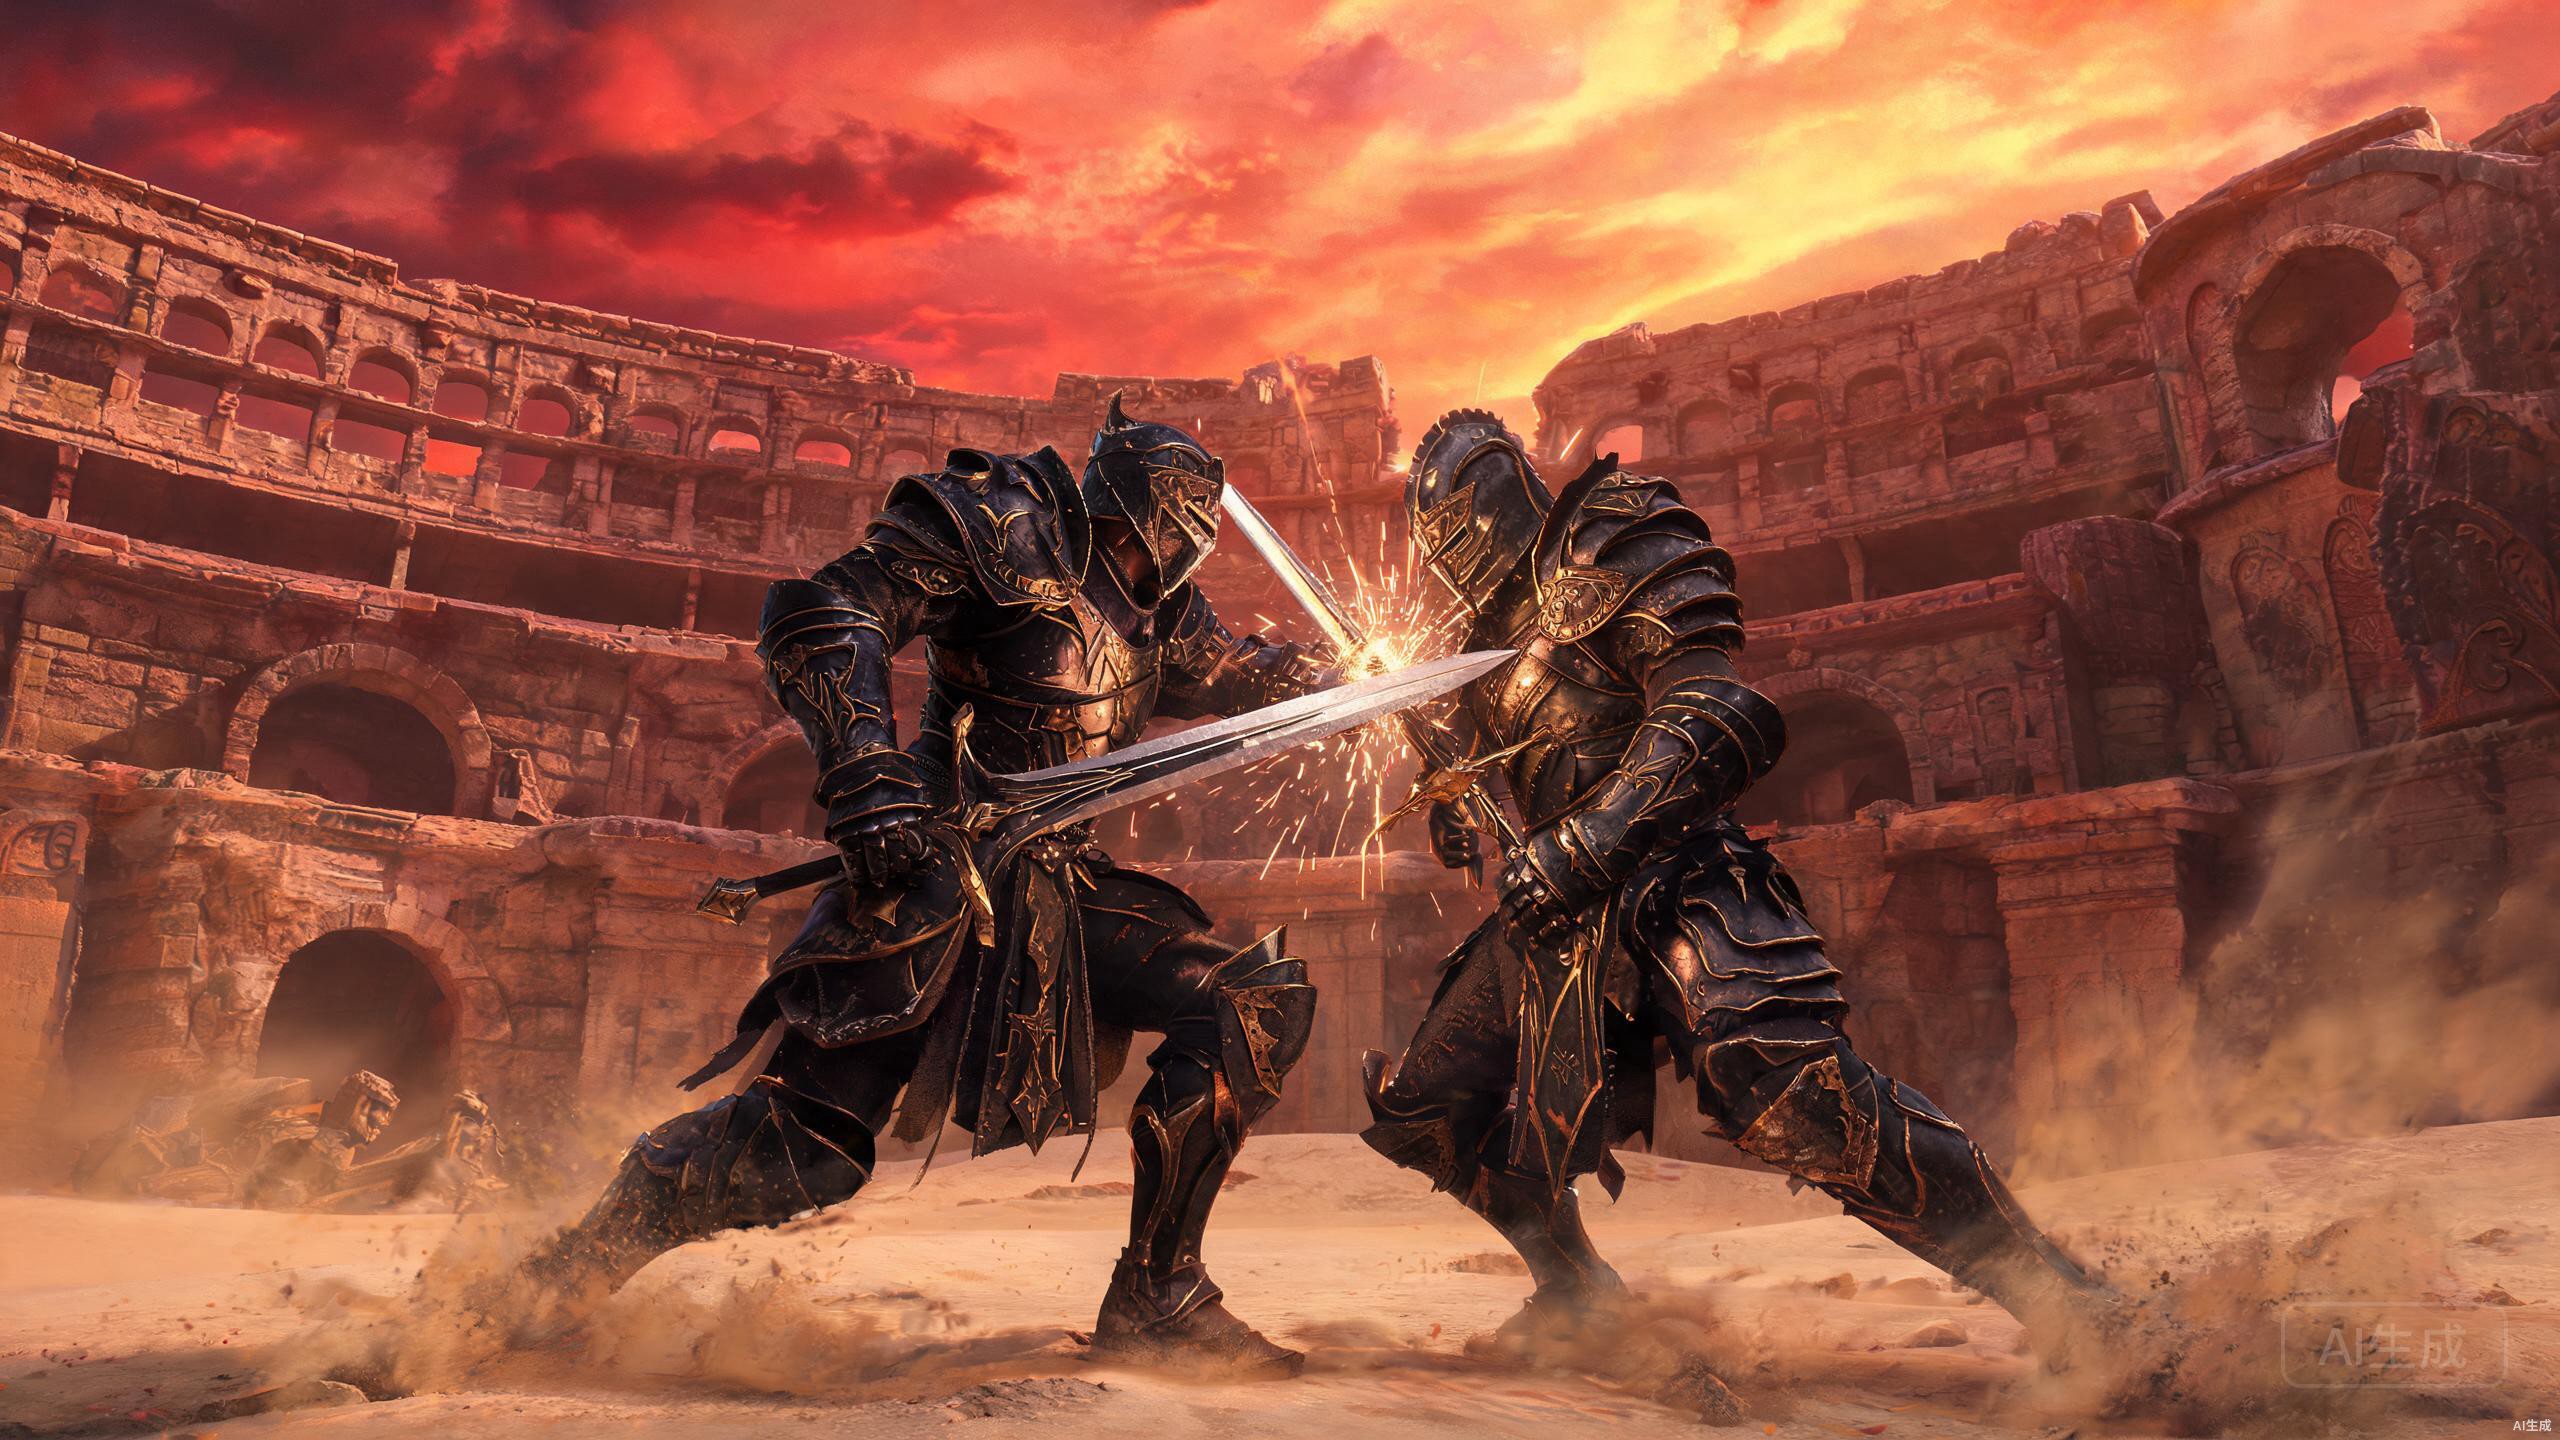
Boss Overview
The White Horn is the gatekeeper boss of Chapter 1 and the first major difficulty spike in Crimson Desert. This massive guardian beast — a towering creature with crystalline horns and a shimmering white hide — serves as the final test of everything you have learned throughout the chapter. It is a three-phase encounter that escalates in intensity, demanding mastery of your core combat abilities, careful resource management, and precise execution.
The White Horn has three distinct phases, each indicated by a color change in its aura and horn crystals:
- Phase 1 (Blue) — The calmest phase. The White Horn relies on telegraphed physical attacks. This is where you learn its basic patterns.
- Phase 2 (Green) — The White Horn becomes more aggressive, adding poison attacks and faster combo chains. Punish windows shrink significantly.
- Phase 3 (Red) — The berserk phase. The White Horn gains a damaging red aura, a devastating 5-hit berserk combo, and ground eruption attacks. This is the most dangerous phase by far.
White Horn — Guardian of the Abyss
World Boss · Level 12 · Deepfog BasinLocation & When to Fight
The White Horn is encountered at the north end of Deepfog Basin, at the conclusion of Chapter 1. After completing the White Crow's trials and unlocking Force Palm and Flight, the path to the boss arena opens automatically.
Key Details:
- The boss arena is a large circular platform surrounded by stone pillars. Use the pillars for cover during Phase 2 poison attacks.
- There is no fast travel point near the boss arena. The nearest checkpoint is the White Crow's sanctum, approximately 2 minutes away.
- You can retreat at any time. If the fight is going poorly, you can leave the arena perimeter to reset the encounter. The boss will not pursue you outside the arena.
- The boss fight is mandatory to complete Chapter 1. There is no way to skip it.
Recommended Level & Gear
The White Horn is a level 12 boss, but do not assume you need to match its level. With proper preparation and strategy, level 8-10 is sufficient. The following table outlines the minimum and recommended gear requirements.
| Slot | Minimum | Recommended | Notes |
|---|---|---|---|
| Level | 8 | 10 | Higher level = more HP and stamina |
| Weapon | +3 Sword | +3 Sword or Spear | Sword has best parry window; Spear allows safe poking from range |
| Shield | Reinforced Buckler | Reinforced Buckler | Larger parry window than starting shield |
| Helmet | — | Iron Helm | +5 defense, available from blacksmith |
| Accessory | — | Deepfog Charm | Reduces poison damage from Phase 2 by 20% |
The Deepfog Charm is obtained from a hidden chest in Deepfog Basin, near the horse taming area. It is not required to beat the boss, but it significantly reduces the difficulty of Phase 2.
Food & Consumable Prep
Proper consumable preparation is the difference between a smooth victory and a frustrating defeat. The White Horn fight is a war of attrition, and you will need plenty of healing items.
| Item | Quantity | Effect | How to Obtain |
|---|---|---|---|
| Hearty Grilled Meat | 100+ | Restores 30% HP, +10% stamina regen for 10 min | Cook at campfire using Raw Meat (hunt wolves) |
| Palmar Pills | 5+ | Restores 50% HP instantly, removes poison | Purchase from Herbalist in Hernand |
| Hearty Fish Stew | 3 | Gradual HP regeneration for 5 minutes | Cook at campfire using Hearty Fish (Nas River) |
| Stamina Tonic | Optional | Increases max stamina by 20% for 3 minutes | Purchase from General Merchant |
Core Mechanics
Before diving into each phase, it is essential to understand the core mechanics that persist throughout the entire fight.
Multi-Segment Health Bar
The White Horn's health bar is divided into segments. Each segment represents approximately 33% of its total HP. Phase transitions occur when a segment is depleted, and the boss becomes briefly invulnerable during the transition animation.
Blue Splatter = Super Armor
When the White Horn is surrounded by a blue splatter effect, it has activated super armor. During this state, the boss cannot be staggered and takes reduced damage from regular attacks. You must use Force Palm to break the super armor. A successful Force Palm hit will stagger the boss and expose its core, creating a 5-second damage window.
Red Flash = Unblockable
When the boss flashes red, its next attack is unblockable. You must dodge — blocking or parrying will result in a full-damage hit. These attacks also have grab properties, meaning they will ignore your shield entirely. The dodge window for these attacks requires precise timing, and you should prioritize dodging over any other action when you see the red flash.
The dodge provides invincibility frames (i-frames) during the roll animation. Time your dodge so that the attack connects during these i-frames rather than before or after. Practice the timing in earlier phases when the boss is less aggressive.
Phase 1 (Blue) Strategy
Phase 1 (100% to 70% HP) is the most forgiving phase and your best opportunity to learn the White Horn's fundamental patterns. The boss is slower and its attacks are more telegraphed.
Attack Patterns
| Attack | Telegraph | Counter |
|---|---|---|
| Frontal Charge | Lowers head, paws at ground twice | Dodge to the side, then 2-3 light attacks to the flank |
| Horn Sweep | Raises head, turns slightly to one side | Dodge backward, then close distance after the sweep finishes |
| Stomp | Rears up on hind legs | Dodge backward twice, then 2-3 light attacks |
| Blue Splatter | Blue aura appears, stands still | Use Force Palm to break super armor, then punish the exposed core |
Strategy
The optimal strategy for Phase 1 is to bait the boss at mid-range. Stand approximately 10-15 meters away, which is close enough to trigger the boss's charge attack but far enough to react. When the boss charges, dodge to the side and punish with 2-3 light attacks to the flank. Do not get greedy — after 2-3 hits, the boss will begin its next attack, and you need to be ready to dodge.
When the blue splatter appears, immediately close distance and use Force Palm. The super armor break animation gives you a 5-second window to deal maximum damage. Use your heavy attack combo during this window, as the boss cannot retaliate.
Stamina Management: Never let your stamina drop below 20% in Phase 1. If you run out of stamina, you cannot dodge, and the boss's charge attack will one-shot you at low HP. Use the stamina regen buff from Hearty Grilled Meat to maintain your stamina pool.
Phase 2 (Green) Strategy
Phase 2 (70% to 35% HP) introduces new attacks and significantly reduces your punish windows. The White Horn's aura and horn crystals turn green, and it gains access to poison-based attacks.
New Attack Patterns
| Attack | Telegraph | Counter |
|---|---|---|
| Double Charge | Lowers head, paws ground three times | Dodge the first charge, then immediately dodge again for the follow-up |
| Green Poison | Spits three green pools on the ground | Avoid the pools — they deal damage over time. Use pillars for cover. |
| Whirlwind Horn Spin | Spins in place, creating a damaging cyclone | Create maximum distance. Do not attempt to attack during this move. |
| Jump Slam | Leaps into the air, brief pause, then slams down | Dodge just before impact. The shockwave extends 5 meters from the impact point. |
Strategy
Phase 2 is where the fight becomes genuinely challenging. The punish window after each attack shrinks to 1-2 light hits instead of 2-3. The Double Charge is particularly dangerous because the second charge comes faster than the first and can catch you if you dodge too early.
Poison Management: The green poison pools persist for 15 seconds and deal damage over time. If you have the Deepfog Charm, poison damage is reduced by 20%. If not, use Palmar Pills to cleanse poison — they provide instant healing and remove the poison debuff. Always keep at least 2 Palmar Pills in reserve for this phase.
Stamina is Critical: The Whirlwind Horn Spin attack lasts approximately 8 seconds. If you are caught in it with low stamina, you will take massive damage. Always maintain enough stamina to sprint to safety when you see the boss begin its spin animation.
Phase 3 (Red) Strategy
Phase 3 (35% to 0% HP) is the berserk phase. The White Horn's aura and horn crystals turn blood red, and it gains a suite of devastating attacks that can kill you in seconds. This phase demands perfect execution and aggressive use of Force Palm.
Berserk Mechanics
| Attack | Telegraph | Counter |
|---|---|---|
| Red Aura | Persistent red glow around the boss | Deals damage over time when near the boss. Keep distance when not attacking. |
| Berserk Combo | Roars, then charges with a 5-hit chain | Create maximum distance. Wait for the 4-second pause after the combo finishes. |
| Ground Eruption | Slams both front legs into the ground | Red circles appear on the ground. Move to safe zones immediately. |
Strategy
Keep HP Above 70%: The red aura deals damage over time when you are near the boss. Combined with the berserk combo, your HP can drop from full to zero in under 5 seconds. Never let your HP fall below 70% — heal immediately if it does. Use Hearty Fish Stew at the start of Phase 3 for the gradual HP regeneration buff, which helps offset the red aura damage.
Use Force Palm Offensively: In Phase 3, the White Horn uses super armor more frequently. Force Palm is not just a defensive tool here — it is your primary offensive option. Breaking the super armor with Force Palm exposes the boss's core, which takes 2x damage from all attacks. Use Axiom Force (your strongest available ability at this point) during the core exposure window for maximum burst damage.
The Berserk Combo is Your Best Damage Window: The 5-hit berserk combo looks terrifying, but it is actually predictable. The boss always pauses for 4 seconds after finishing the combo. This is your best damage window in Phase 3. Learn the timing of the 5 hits, dodge them all, and then unleash everything you have during the 4-second pause.
The White Horn's most dangerous attack is the Phase 3 berserk combo. When you see the red aura appear, immediately create distance and wait for the 5-hit chain to finish. The boss pauses for 4 seconds after the combo — this is your best damage window. Use Axiom Force here for maximum burst.
Do NOT use Flight to glide during Phase 3. The red aura damage ticks even while airborne, and landing near the boss during its ground eruption will one-shot you at full health.
Phase Breakdown Summary
| Phase | Color | HP Threshold | New Attacks | Strategy |
|---|---|---|---|---|
| Phase 1 | Blue | 100-70% | Charge, Sweep, Stomp | Bait and punish |
| Phase 2 | Green | 70-35% | Double Charge, Poison, Whirlwind | Shorter punish windows |
| Phase 3 | Red | 35-0% | Berserk Combo, Ground Eruption | Keep HP high, Force Palm |